[retail]
How To's
- Step 1. Create Customer Appointment on Retail Calendar
-
- 1. In QuickBooks Online, create Invoice with Class field value SORS.
-
2. In Shop App navigate to the Retail Calendar.
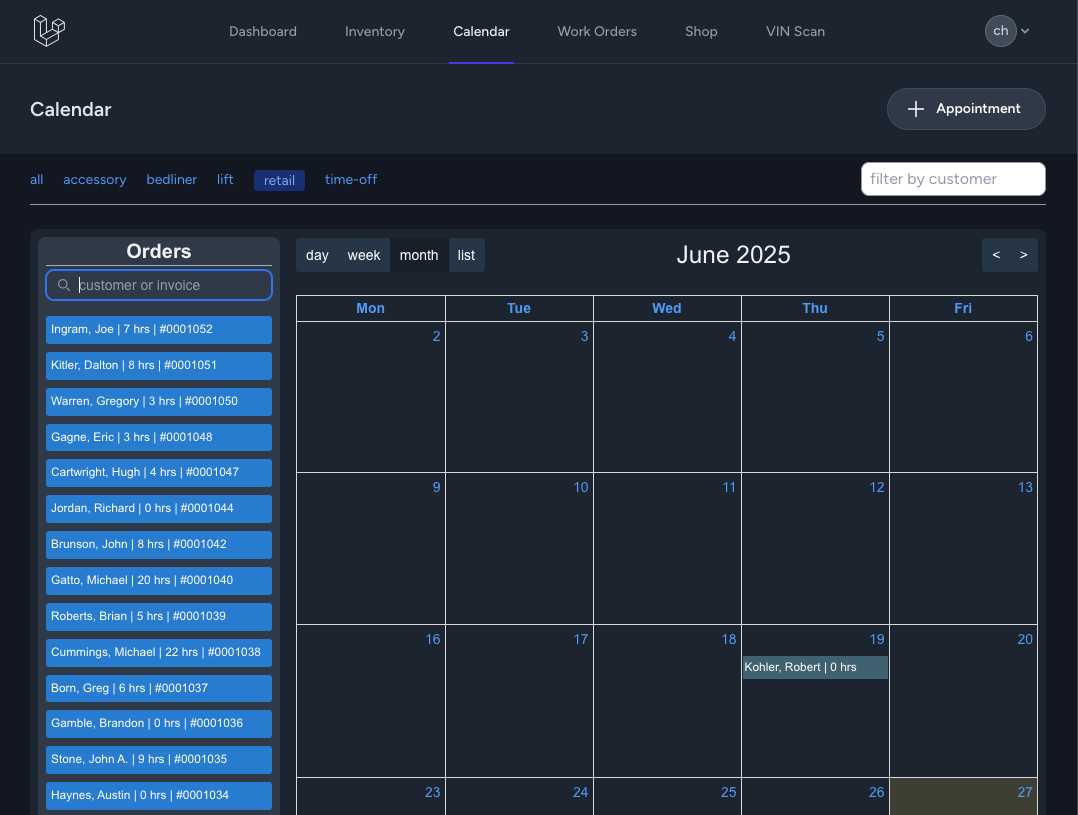
-
3. Use left sidebar to find the newly created QBO Invoice by Customer Name or Invoice #.
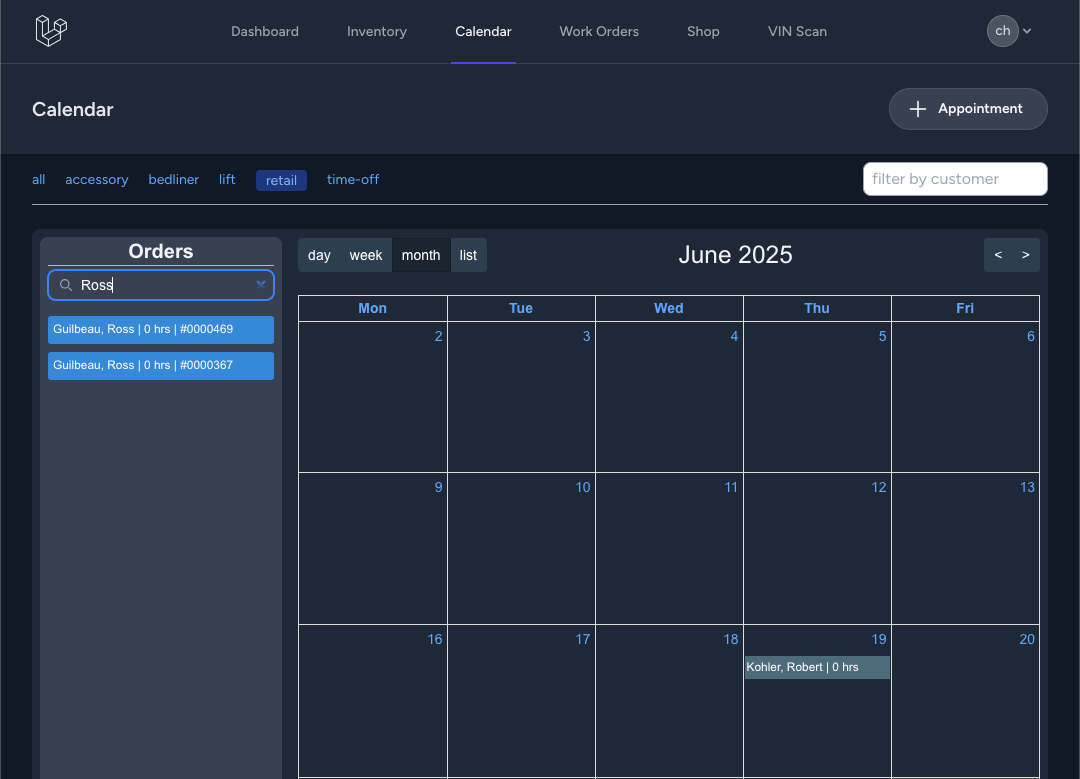
-
4. Click and hold sidebar entry to drag + drop onto a specific date on the calendar.
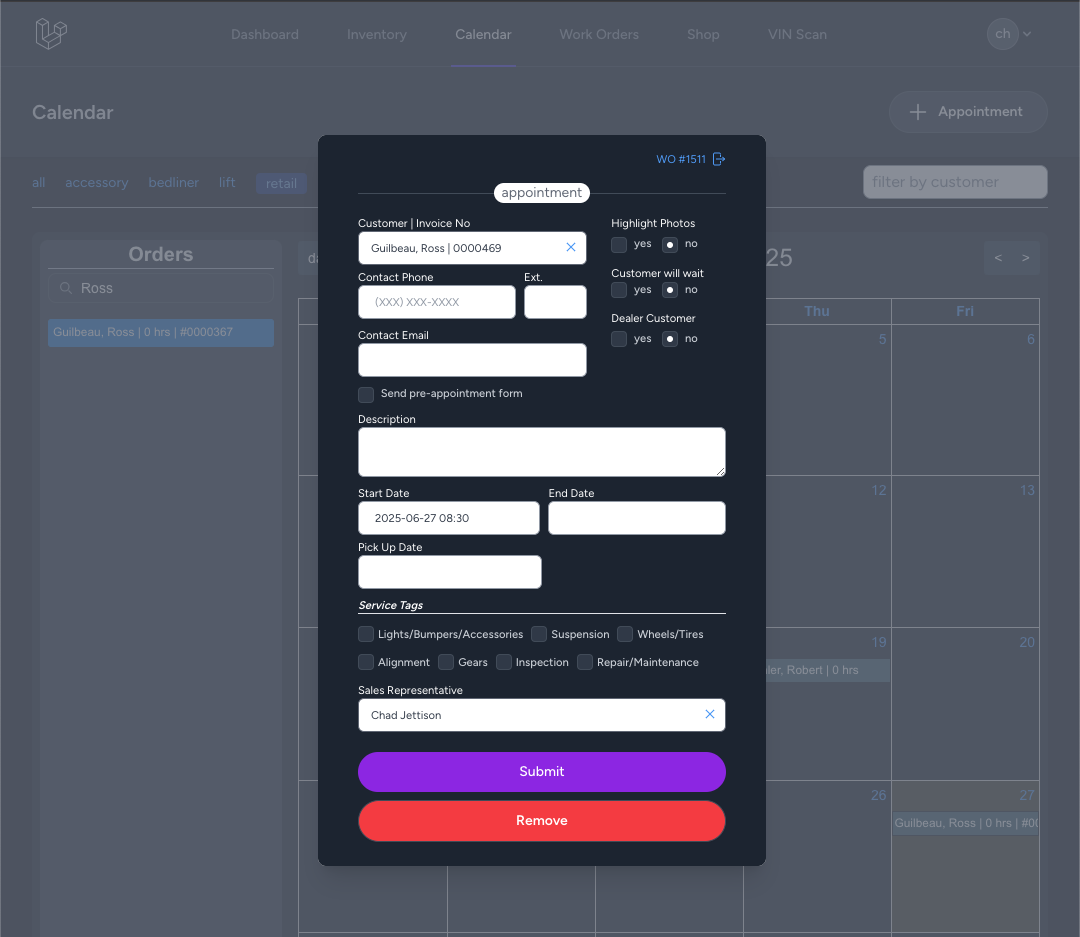
-
5. An appointment form will appear, complete any remaining appointment details then submit form.
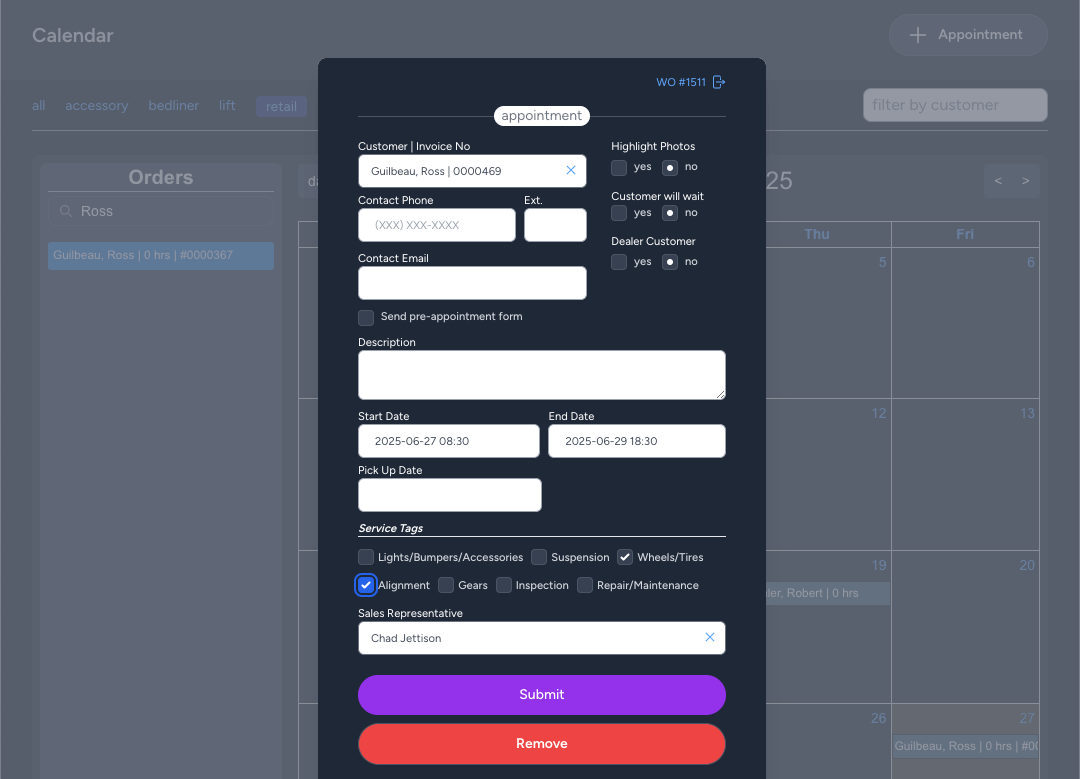
-
6. Proceed to the following step to Create a Vehicle.
- Step 2. Create Vehicle
-
-
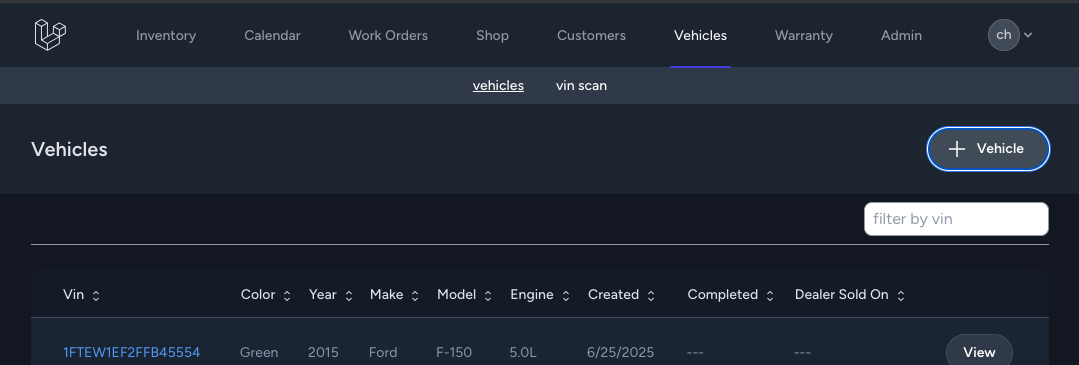
1. In Shop App open the Vehicles Index.
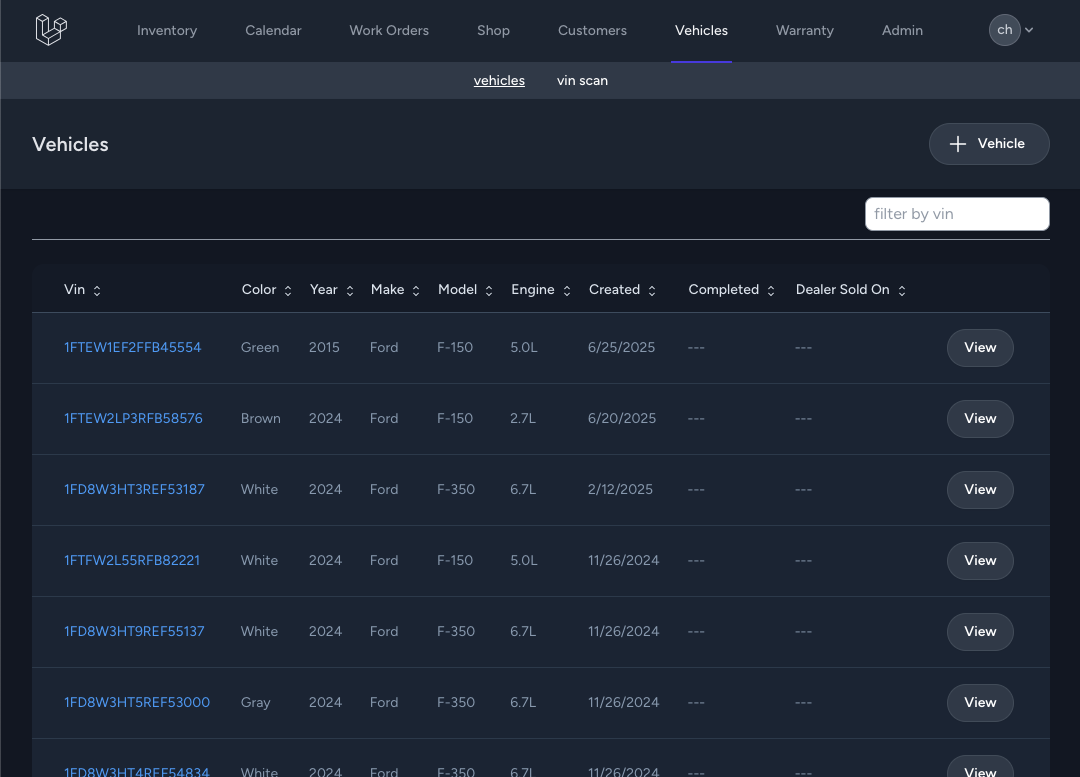
-
2. Click the button labeled "+ Vehicle" (top-right of page) to access the vehicle form.
-
3. Enter vehicle details by completing the fields.
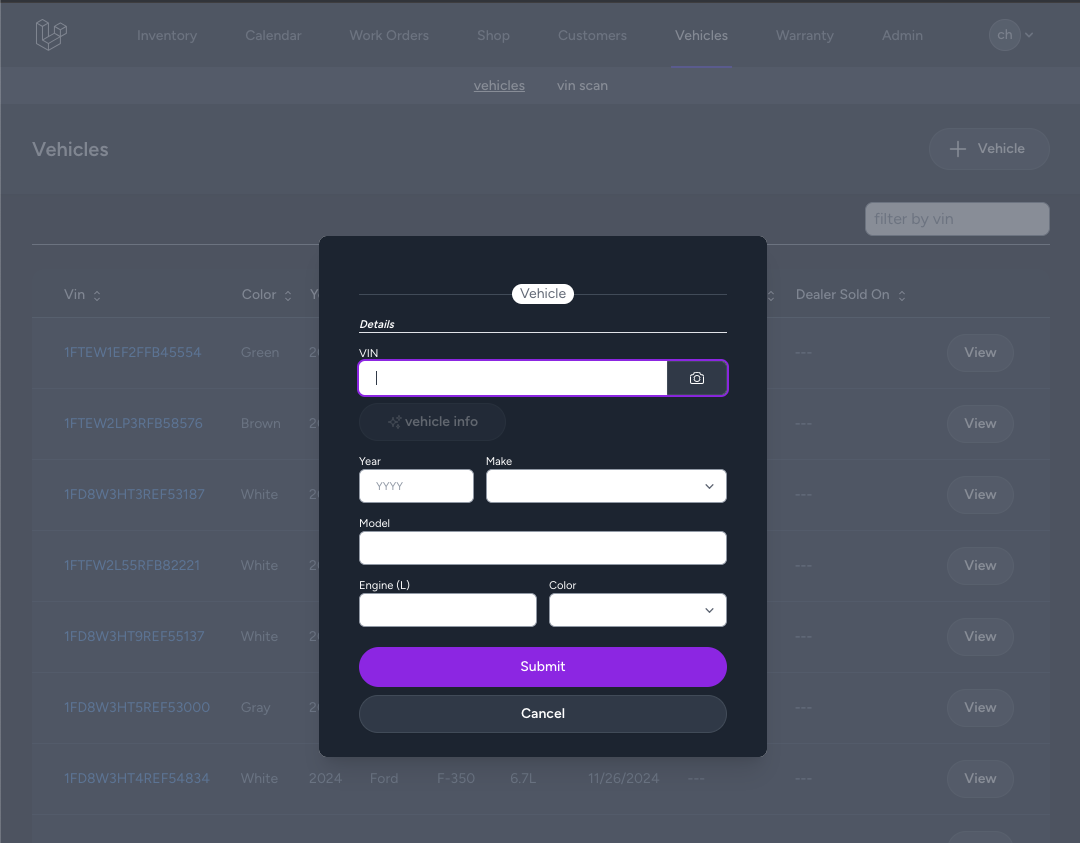
NOTE: convenience features have been added for:
VIN input provides ability to use the device camera to scan and find vin.
Button to automatically find vehicle details by decoding the vin (when/if present). - 4. Enter the required fields (ie Year, Make, Model, Engine, Color) and click "Save".
-
- Step 3: Attach Vehicle to Work Order and Confirm Work Order is Ready for Technician to Start Work.
-
- 1. From the Shop App go to the Retail Calendar.
- 2. Find the calendar entry for the customer and click the calendar entry to open the Appointment details form.
-
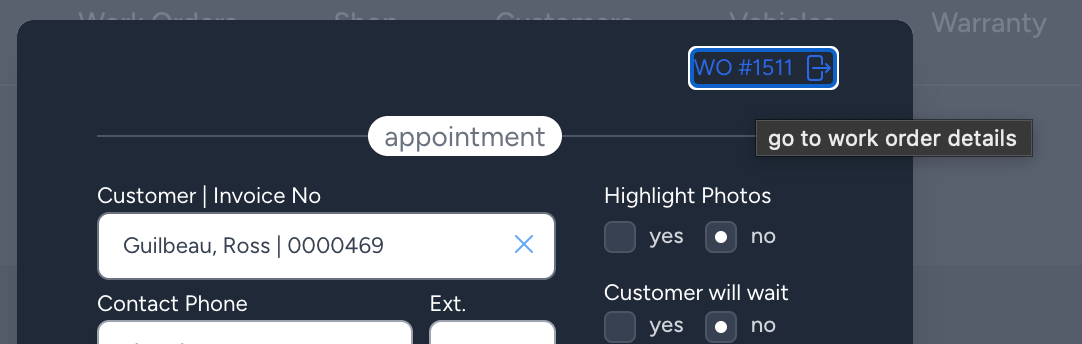
3. In the upper righthand corner of the appointment popup click the link for the Work Order detail page.
-
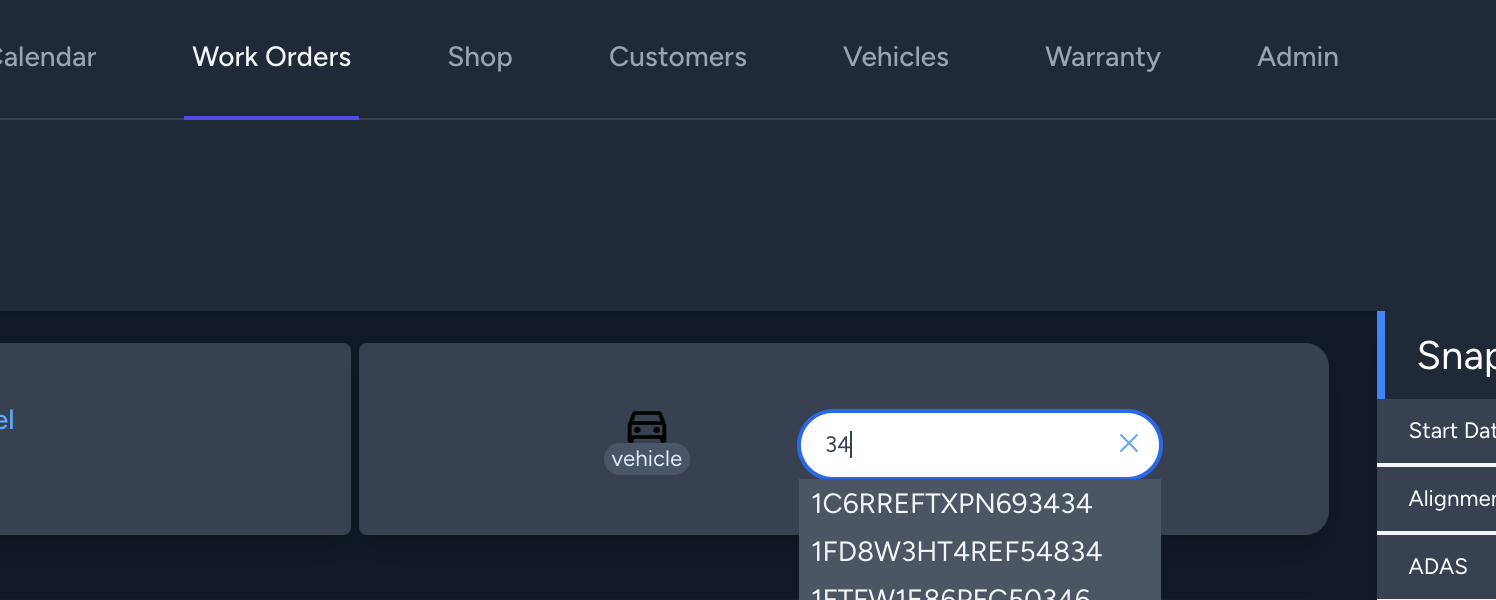
4. From the Work Order detail page, find the Vehicle vin typeahead.
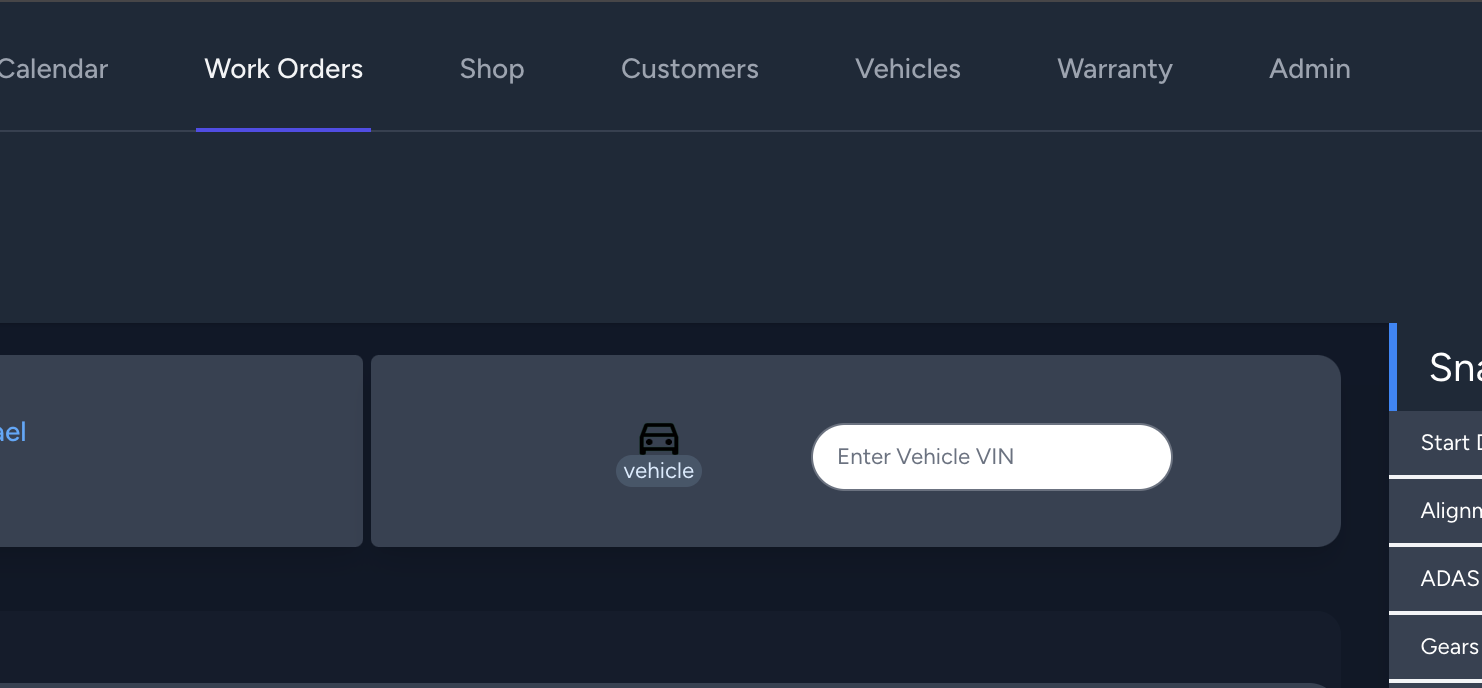
-
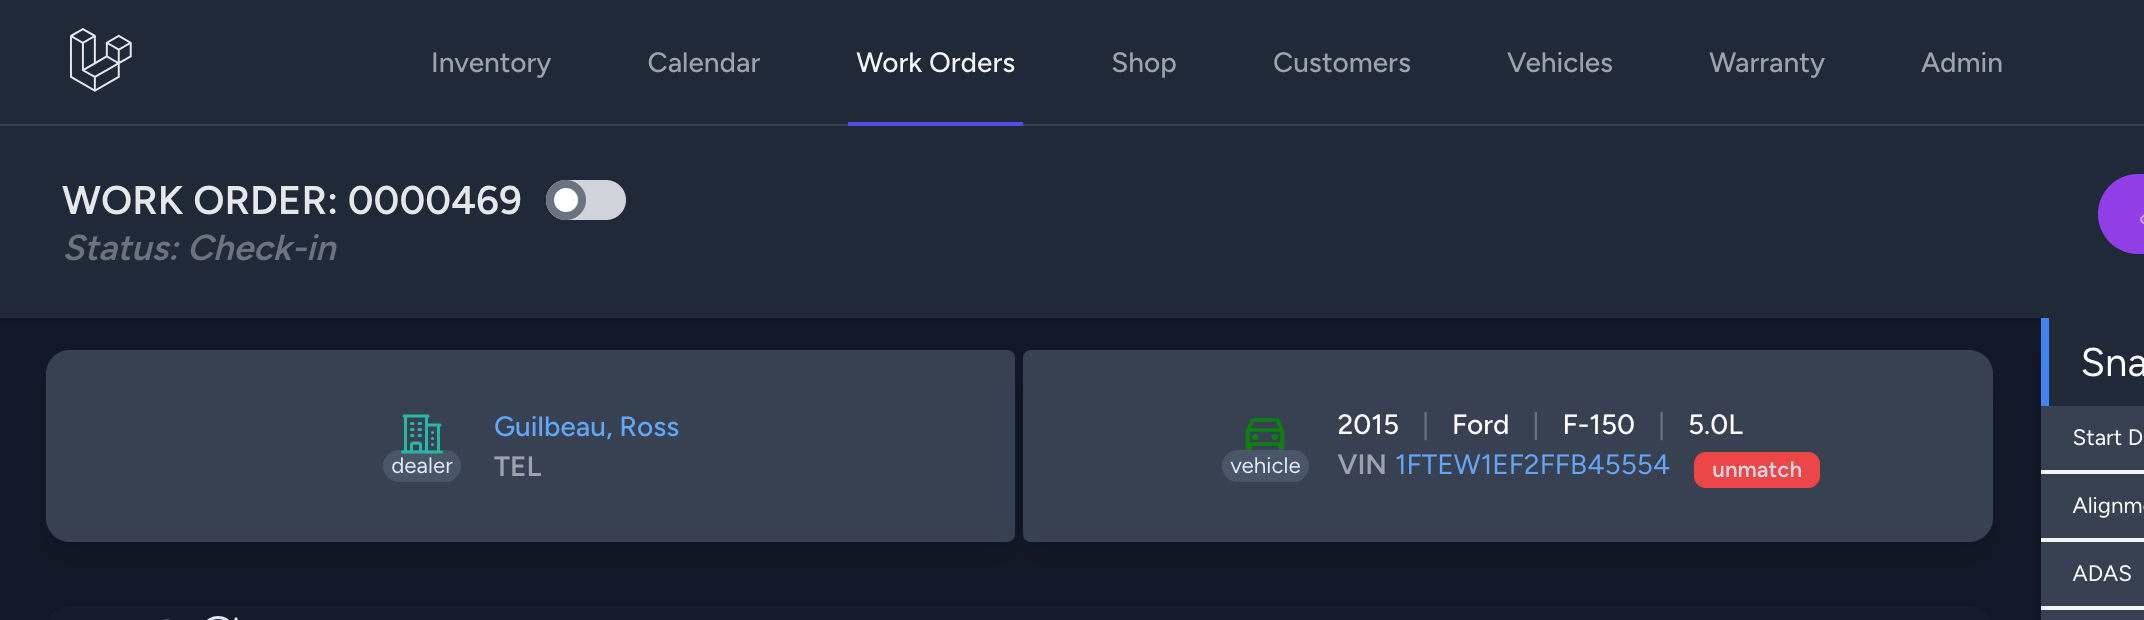
5. Find the vehicle by typing the vin until you're able to click the full vin entry shown in the dropdown suggestions.
-
6. Confirm the customer's vehicle has been linked to the work order by verifying the Vehicle details section is displaying the vehicle details and vin.
-
7. Verify the work order has been properly updated to "Check-in" status.
NOTE: The Work Order status of 'Check-in' is critical as it allows Technician(s) to begin to perform work.
